A well-maintained motorcycle engine is key to performance and longevity. But let’s be real: many of us struggle with motorcycle engine overhaul. The lack of clear, detailed guidance makes it tough to tackle the job confidently.
I’ve been in those shoes. I know the frustration that comes from wanting to get your bike back on the road but feeling lost.
That’s why I’m sharing my extensive experience in motorcycle mechanics with you. You’ll learn step-by-step refurbishment techniques that actually work. I’m not just throwing around tips; I’m giving you reliable information based on years of hands-on work.
By the end of this article, you’ll understand how to approach engine refurbishment like a pro. You’ll be equipped to keep your ride in top shape, ensuring you can hit the road with confidence. Let’s dive in and get your motorcycle engine running like new again.
Get Revved Up: Basics of Motorcycle Engine Refurbishment
Motorcycle engine refurbishment is a game-changer. It’s not just about fixing what’s broken. It’s about bringing your machine back to life.
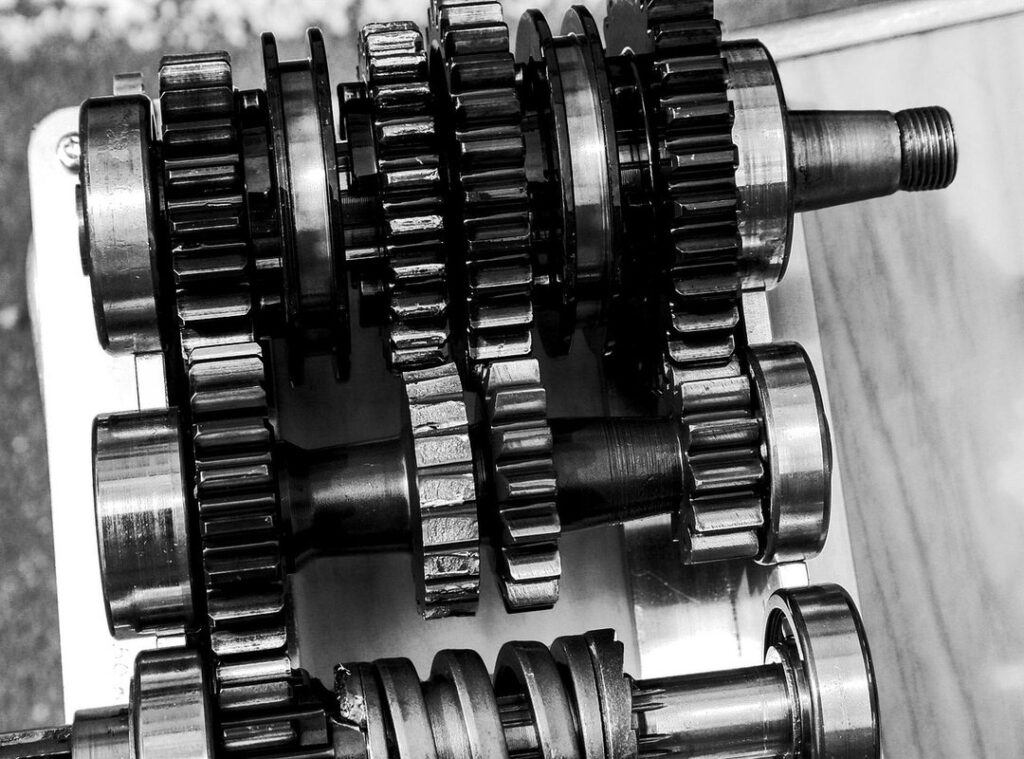
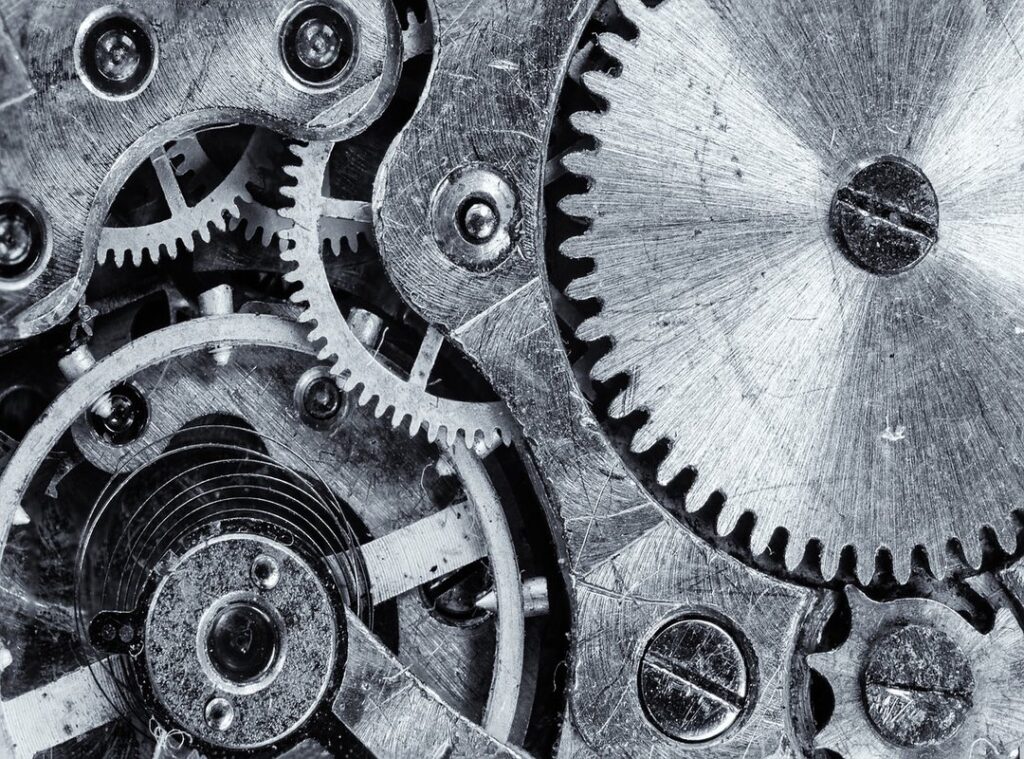
What’s the fuss about pistons, cylinders, gaskets, and bearings? These components are your engine’s backbone. When you dive into a motorcycle engine overhaul, you’re essentially giving your bike a fresh lease on life.
But why bother? You might ask.
Well, a refurbished engine means an extended engine life. No more worrying about frequent breakdowns. Plus, there’s improved efficiency.
Your bike runs smoother and doesn’t guzzle gas like it’s going out of fashion. Pro tip: this process can save you a fortune in the long run. Repair bills can pile up, but refurbishment is an investment.
Some skeptics argue it’s costly upfront. Sure, but consider the longevity and performance boost. It’s like comparing a classic rock album to its digital remaster (both are good, but one has that extra kick).
Interested in more bike performance tweaks? Check out suspension tuning motorcycle performance. It’s another piece of the puzzle.
In the end, engine refurbishment isn’t just maintenance. It’s about passion and performance. You feel it every time you hit the road.
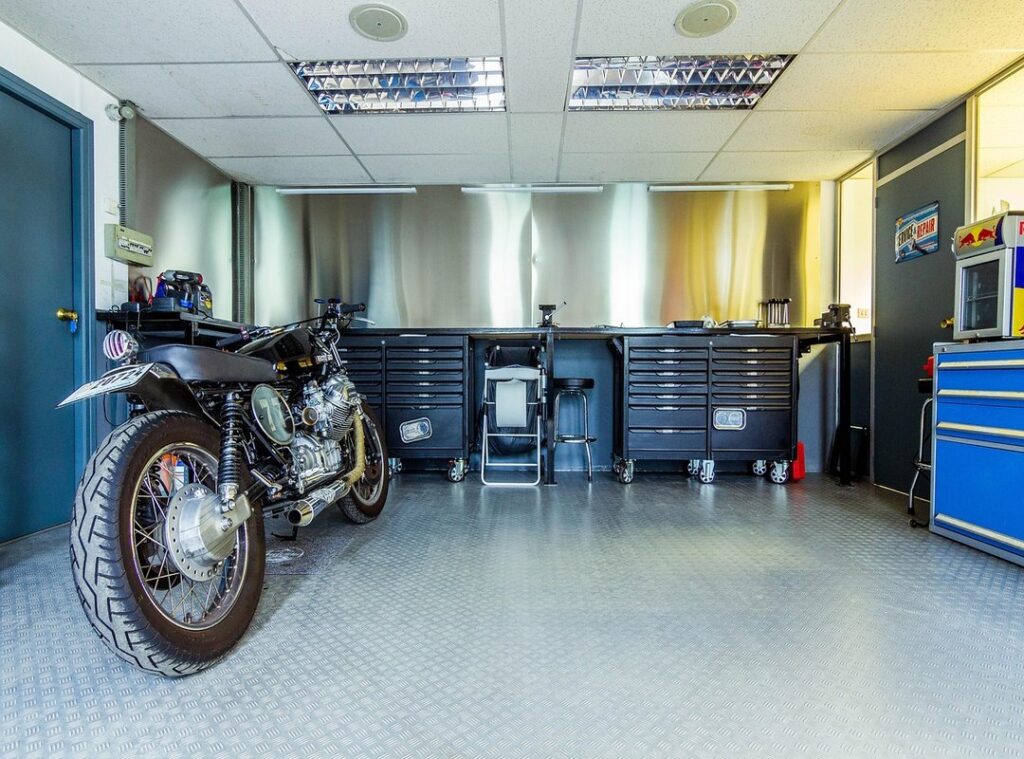
Tools of the Trade: Reviving Your Motorcycle Engine
Getting into a motorcycle engine overhaul demands the right tools. Start with a torque wrench. It’s your best friend for precision.
A feeler gauge is next (key) for checking your gaps. Micrometers? They measure exactly, no guesswork.
And don’t forget an engine stand. It holds everything steady while you dig in.
Now, safety. It’s not optional. Gloves protect your hands from cuts and chemicals.
Goggles? They keep debris out of your eyes. Ever been in a poorly ventilated space with fumes?
It’s not fun. Make sure your workspace breathes.
Speaking of workspaces, preparation is key. Clear clutter. You need room to move and tools within reach.
Organize your space because efficiency matters when you’re elbow-deep in mechanical guts.
Why does all this matter? Without these essentials, you’re just spinning wheels. And trust me, an fast setup saves time and headaches.
When you’re ready for your own motorcycle engine overhaul, having these tools and a safe space is non-negotiable. You’ll thank yourself when everything fits perfectly back together.
Got questions? You’re not alone. We all start somewhere, and tools like these make the journey smoother.
Dive in and see the difference.
Rev Up: Step-by-Step Motorcycle Engine Overhaul
Ever cracked open a motorcycle engine? It’s not as daunting as it seems. I promise.
First step? Disassembly. You need to get everything out in the open.
Take off the tank, exhaust, and any other parts in your way. Keep track of every bolt and nut. Trust me, you’ll thank yourself later.
Alright, you’ve got the engine exposed. Time to dive deeper. Remove the cylinder head and cylinders.
Don’t rush it. Have you ever tried to clean a carburetor? Now’s your chance.
Scrub that gunk off (it’s like your engine’s been rolling in mud). Use a soft brush and some solvent. No one likes a dirty engine.
Next up: inspection. Look at every component with a key eye. See those pistons?
They shouldn’t be scratched. If they are, they need replacing. And let’s talk about seals and gaskets.
If they’re brittle or cracked, they’re toast. Get new ones. Quality replacements are key.
I mean, do you want to do this all over again next year?
Now, replacing worn parts. Here’s where your wallet might take a hit, but it’s worth it. Use quality parts.
Cheaper alternatives will only cost more in the long run. Ever heard someone say, “Buy cheap, buy twice”? Exactly.
Reassembly can be tricky. Follow your manual’s torque specs religiously. Over-tighten, and you might crack something.
Under-tighten, and it might rattle loose. It’s a balancing act, but you’ll get the hang of it.
Wondering about two-stroke engines and how they differ? Check out the Two Stroke Engines Deep Dive for more takeaways. It’s a game-changer if you’re tackling a different type of engine.
Before you fire it up, double-check everything. Are all hoses connected? Wiring intact?
It’d be a shame to have a leak or short circuit after all this work. Once satisfied, turn the key. Listen for that purr.
Feels good, right?
Remember, a motorcycle engine overhaul isn’t just about fixing problems. It’s about understanding your machine. Knowing its quirks.
So next time something goes wrong, you’ll know exactly where to look. You’re not just a rider now. You’re an engineer.
Overhauling Engines: Tackling Common Challenges
Motorcycle engine overhaul can feel like a daunting task, but trust me, I’ve been there. Seized bolts are a nightmare, right? Those stubborn little things can halt progress like nothing else.

A bit of patience and some penetrating oil can become your best friends here. And oil leaks (ugh,) don’t get me started. They’re like the unwanted guests that just won’t leave.
The key to overcoming oil leaks is precision. Make sure every gasket is properly seated.
Now, let’s talk about troubleshooting. It’s not as scary as it sounds. If something’s off, start small.
Tighten what you can see first before diving into complex fixes. Pro tip: take photos as you disassemble. They’ll save you a world of trouble when you put everything back together.
In the end, with patience and a methodical approach, you can tackle these challenges. You’re learning with each turn of the wrench.
Keep Your Revamped Engine Running Smooth
So, you’ve just completed a motorcycle engine overhaul. Now what? Break it in carefully, that’s what.
Once you’re past the break-in, stick to a maintenance schedule. Regular checks are your new best friend. Oil changes?
Don’t just rev it up like it’s a drag race. Keep the RPMs low for the first 500 miles. You’re not Rossi, and this isn’t the MotoGP.
Key. It’s not just about the engine running smoothly; it’s about extending its life. I recommend changing the oil after the first 500 miles and then every 3,000 miles.
Don’t skip the small stuff. Check the air filter and spark plugs. These are easy fixes that prevent bigger problems.
Pro tip: always listen to your bike. Literally. If something sounds off, it probably is.
Regularity is key here, and it pays off in the long run (trust me, I learned this the hard way).
Boost Your Ride Today
With this guide, your motorcycle’s engine refurbishment needs are met. A well-refurbished engine means reliability, performance, and a longer lifespan. Don’t wait.
Dive into the motorcycle engine overhaul process and keep your bike in top shape. Get started now and feel the difference on the road.
 Lirona Vaxhaven contributes informative content to FMB Motor Racing with a focus on motorcycle mechanics, maintenance advice, and rider-focused vehicle care. Dedicated to making technical topics easier to understand, she creates accessible guides that help enthusiasts improve their knowledge of bike performance and long-term maintenance.